Adding internationalization to a Next.js app
Setting up a Next.js site with the functionality of switching the language inside the application.

Introduction
I usually write the UI copy in English. And no other language. But this had to change with Railtrack. It’s a web app for tracking your train journeys in Europe. With the main focus being the German-speaking countries. So it only made sense to translate the UI to German. Add the fact that I am a native German speaker, which sealed the deal.
I’m sure you know websites that define the language via the URL. So website.com/en/welcome would show the welcome page in English whereas website.com/de/welcome would show it in German. Next.js supports this out of the box. They call it internationalized routing. You define a list of supported languages. Next.js then automatically detects the user’s language set in their browser. Then it’s up to the developer (usually with the help of a library) to load the correct translations for this language.
This works great for websites. Such as marketing pages or blogs. But it’s not ideal in full-blown web apps. For two reasons:
- It bloats the URL.
app.website.com/dashboardlooks a lot cleaner thanapp.website.com/en/dashboard - Language settings should be persisted on a per-account level. No matter which system the user logs in from. This means we can’t rely on the
Accept-Languageheader alone.
How we can solve this
The flow for determining the user’s language should look like this. Ranked by priority:
- If available, use the language the user has set in his settings
- If no language has been set, use the default browser language
For handling the translations on the client we’ll use the excellent next-intl library. It gives us full freedom on how to fetch the translation file for the desired locale on the server.
Language choice setting
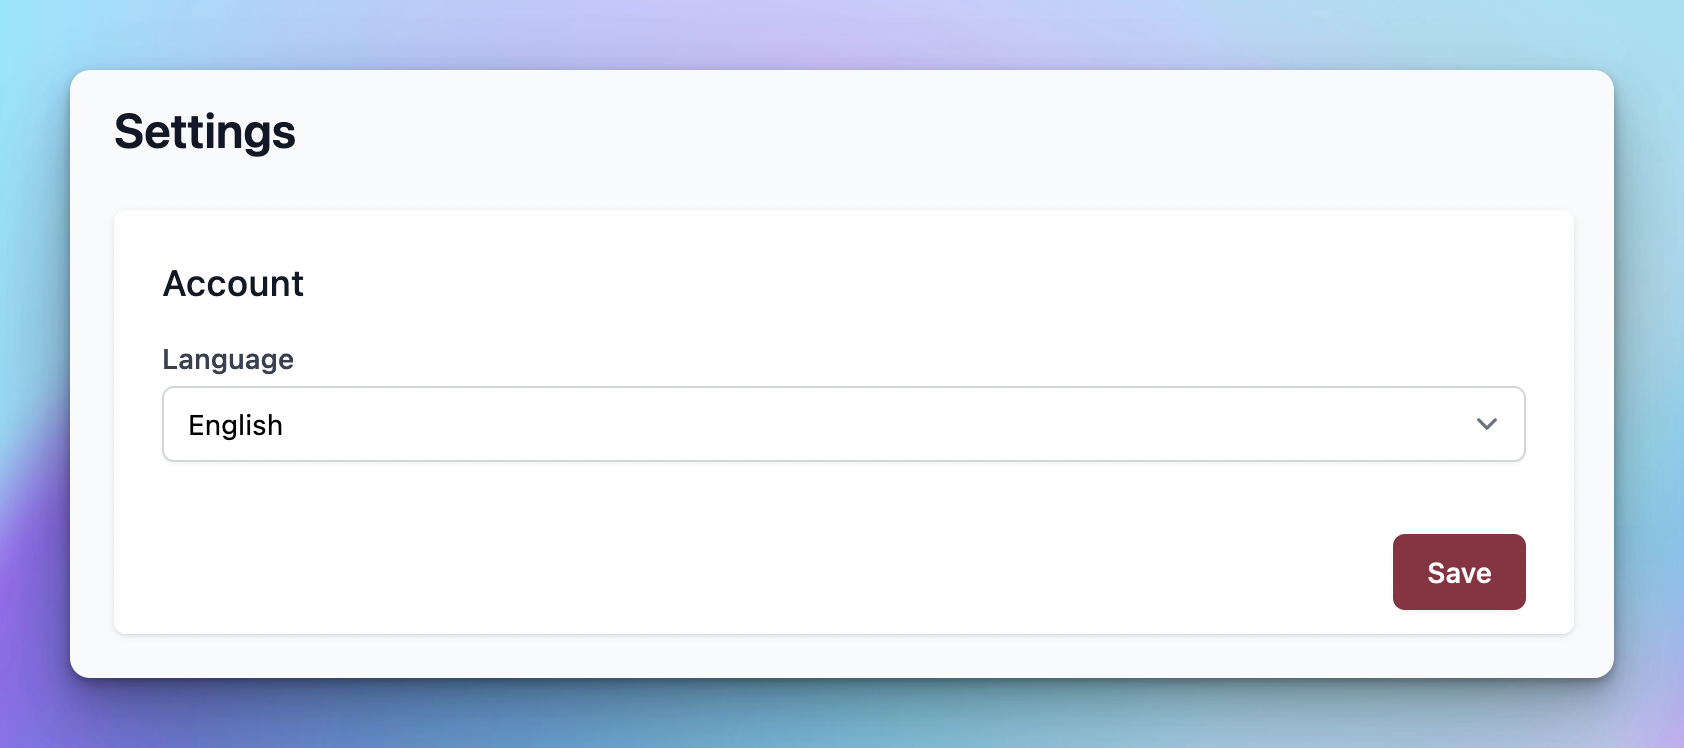
How you let the user choose his preferred language depends entirely on the specifics of your app. In Railtrack, there is a settings screen where the user can change the language. Per default, the setting will be switched to his browser language. But as soon as the user changes the setting for the first time, we’ll store the value in our database so that it can be persisted for later sessions.
Fetching the correct locale on the server
We’ll need a few things for this
- Logic for deciding which local we’ll be using
- Code to load translation file for current locale and sending it to the client
- Consuming and displaying the translation on the client
Getting the locale
This is the logic that decides which language we’ll be using for the website. If available, the language a user has chosen in the setting is used. If none has been set, the browser language will be used.
This is handled by the following function. We’ll call it at a later point in our getServerSideProps.
// src/utils/getLocale.ts

import parser from 'accept-language-parser';
import { getCookie, setCookie } from 'cookies-next';
import { GetServerSidePropsContext } from 'next';

import { prisma } from '@/server/db/client';
import { getUserFromContext } from '@/utils/serverUser';

export const LANG_COOKIE_KEY = 'i18n-lang';
const SUPPORTED_LANGS = ['en', 'de'];
const DEFAULT_LANG = 'en';

const getBrowserLanguage = (ctx: GetServerSidePropsContext) => {
  const languages = ctx.req.headers['accept-language'];

  // use english as the default
  return parser.pick(SUPPORTED_LANGS, languages ?? '', { loose: true }) ?? DEFAULT_LANG;
};

export const getLocale = async (ctx: GetServerSidePropsContext): Promise<string> => {
  // first check for actual cookie
  const cookieLanguage = getCookie(LANG_COOKIE_KEY, ctx);

  if (cookieLanguage === 'browser') {
    // then check for browser language
    return getBrowserLanguage(ctx);
  }

  // if we have the actual cookie with a valid language
  if (cookieLanguage && typeof cookieLanguage === 'string' && SUPPORTED_LANGS.includes(cookieLanguage)) {
    return cookieLanguage;
  }

  // Only check auth after cookie fails
  const user = await getUserFromContext(ctx);

  const isAuthenticated = user && user.role === 'authenticated';

  if (!isAuthenticated) {
    return DEFAULT_LANG;
  }

  // this means we haven't set the cookie
  // so now we fetch settings and check there.
  const settings = await prisma.settings.findUnique({ where: { userId: user.id } });

  // and if it's there, store in cookie and use it
  if (settings?.language) {
    setCookie(LANG_COOKIE_KEY, settings?.language, { ...ctx, sameSite: 'lax' });

    return settings?.language;
  }

  // if we also have nothing in the DB, just use the browser language

  // set the language selection to browser from now on
  // this prevents us from having to make a DB query each time
  setCookie(LANG_COOKIE_KEY, 'browser', { ...ctx, sameSite: 'lax' });

  return getBrowserLanguage(ctx);
};
We make heavy use of cookies for caching the language preference. Why? Fetching the user settings from the database on every page load would hurt performance significantly.
Therefore we cache the result of the database query in the cookie. On the next page load, the chosen language will be extracted from the cookie without ever having to run the database query again.
Using translations
Translations for each language can be defined in simple JSON files.
// src/locales/de.json

{
  "departure": "Von",
  "arrival": "Nach",
  "add": {
    "time": "Abfahrtszeit",
    "save": "Speichern"
  }
}

// src/locales/en.json

{
  "departure": "From",
  "arrival": "To",
  "add": {
    "time": "Departure time",
    "save": "Save"
  }
}
Fetch translations in getServerSideProps on every page where you’ll use them.
export const getServerSideProps = async (ctx: GetServerSidePropsContext) => {
  // calls the function we created above
  const locale = await getLocale(ctx);

  return {
    // loads the translation for the correct locale and sends it to the page as a prop
    props: { messages: (await import(`../locales/${locale}.json`)).default, locale },
  };
};
To consume this in our components we need to add the next-intl provider to our _app.tsx file. Don’t forget to install the library: npm install next-intl.
import { AbstractIntlMessages, NextIntlProvider } from 'next-intl';
import type { AppType } from 'next/dist/shared/lib/utils';

const DEFAULT_LANG = 'en';

type Props = {
  messages: AbstractIntlMessages;
  locale: string;
};

const MyApp: AppType<Props> = ({ Component, pageProps }) => (
  <NextIntlProvider messages={pageProps.messages} locale={pageProps.locale ?? DEFAULT_LANG}>
    <Component {...pageProps} />
  </NextIntlProvider>
);
Now, using the translations on the client is as simple as adding the useTranslations hook and calling the function it returns with the desired key.
const Journeys: NextPage = () => {
  const t = useTranslations();

  return (
    <Wrapper title={t('navigation.journeys')}>
      <JourneyList />
    </Wrapper>
  );
};
Cache invalidation
Imagine user A sets the language into German on device A. He then logs in on device B where we have a cookie set to English. In that case, the implementation from above never queries the DB again to check if the language set in the cookie is still up to date. There are a few things we should do to mitigate this case:
- On every login, re-fetch the language setting and update the cookie if needed. This is also important if you log in with a different user in the same browser. Because that user could have a different language setting.
- Regularly refreshing the cookie information. Either by setting an expiration date on the cookie or by querying the settings DB after the page loads.
For Railtrack, I chose the strategy of invalidating the cookies on every sign in and sign up. Add the following snippet wherever you perform your sign in and sign up actions.
import { LANG_COOKIE_KEY } from 'utils/getLocale';

// add this inside the login function handler
deleteCookie(LANG_COOKIE_KEY);
Wrapping up
This is what I did to add internationalization to my web app. Let me know how you like my solutions. And please reach out if you have any improvements to suggest.
If you want to see a real-world example of what I described, check out my repository for Railtrack here: https://github.com/noahflk/railtrack.

